![Image 28-09-2023 at 11.59.jpeg]](https://141891062.hs-sites-eu1.com/hs-fs/hubfs/Image%2028-09-2023%20at%2011.59.jpeg?height=50&name=Image%2028-09-2023%20at%2011.59.jpeg)
Work through the tabs in order. The options available can depend on your company configuration and HRoes package. Check all information before sending documents or completing onboarding.
1. Personal Details
Start by adding the employee’s personal and contact information. Fields marked with a red asterisk are required.
- Enter the employee’s name, address, telephone numbers and email address.
- Complete relevant personal information, such as date of birth and National Insurance number, where available.
- Select the User Account Type. Check the Email Address carefully, as this is the account email used for HRoes login and welcome communication.
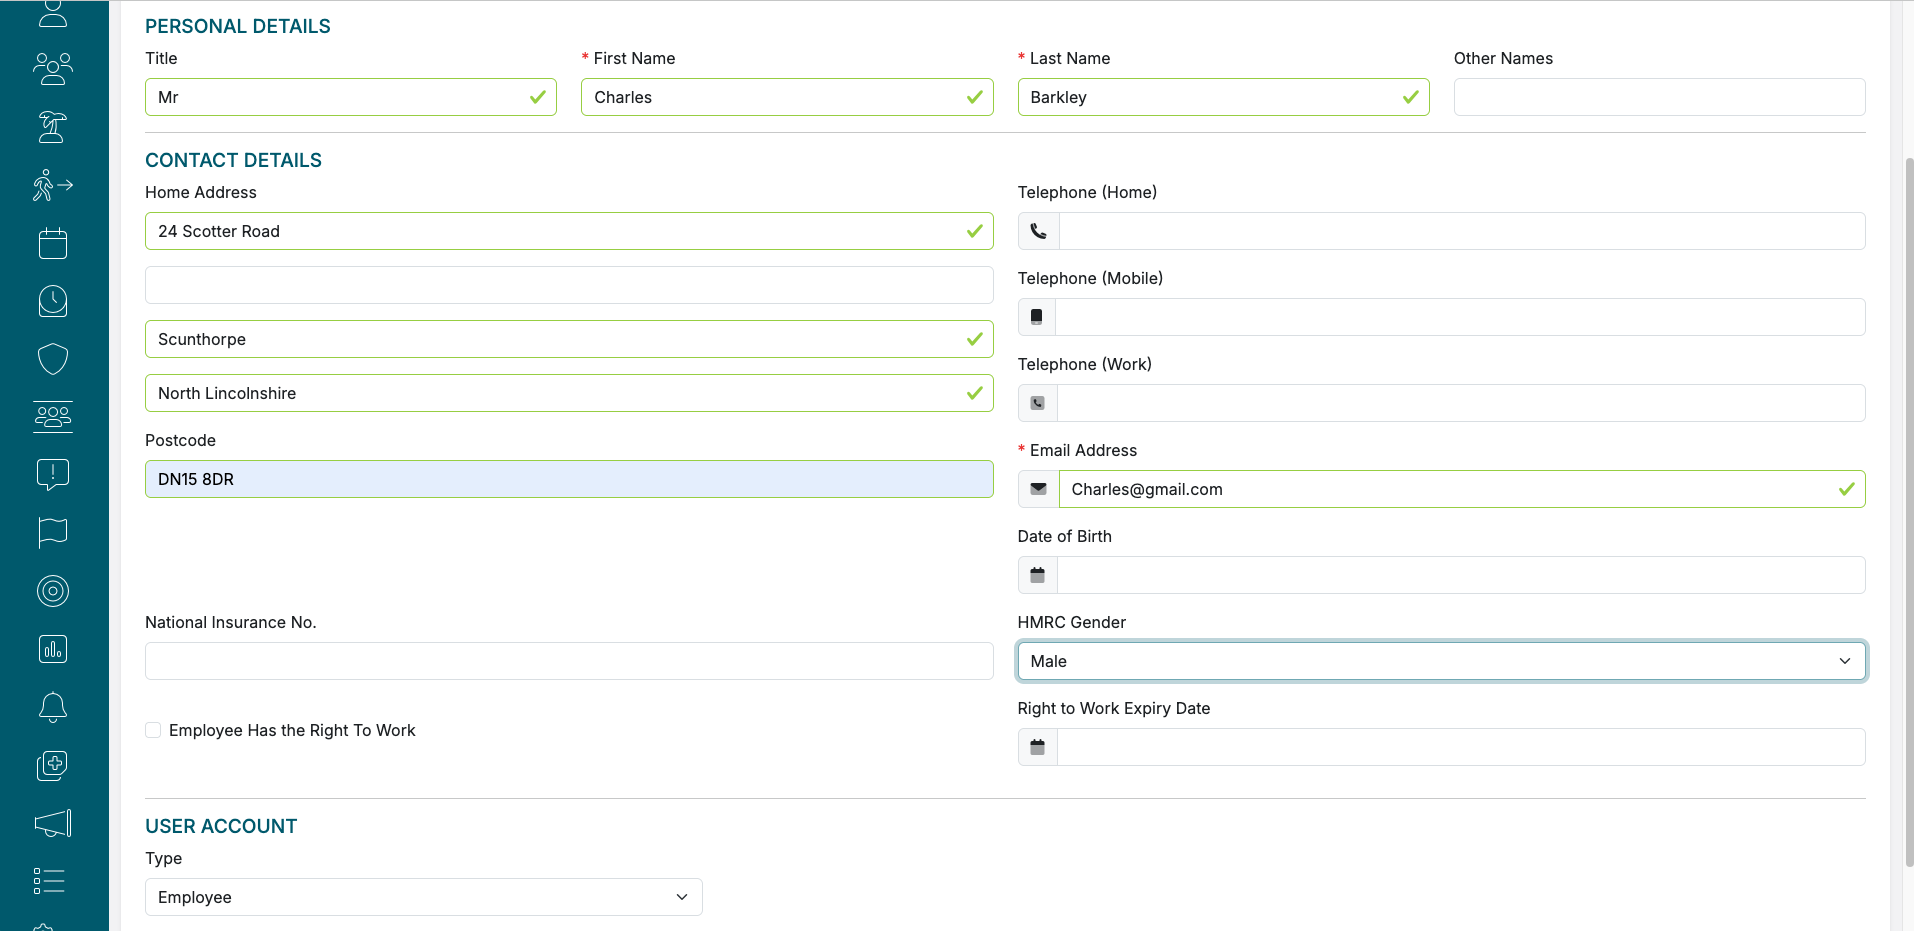
Figure 1. Personal details
2. Employment Details
Add the employee’s job and contract information. Where applicable, use Import Job Profile to populate relevant role information.
- Select the Location, Department and Job Role, along with the Line Manager, Team and Work Rota if relevant.
- Enter the contract type, working hours, pay basis and amount, Start Date and applicable notice details.
- Set the holiday allowance, bank holiday template and any length-of-service rule. Check the statutory-holiday and bank-holiday working options.
- Complete the Summary, Responsibilities and Requirements, plus Skills and Experience fields further down the page (not visible in this screenshot).
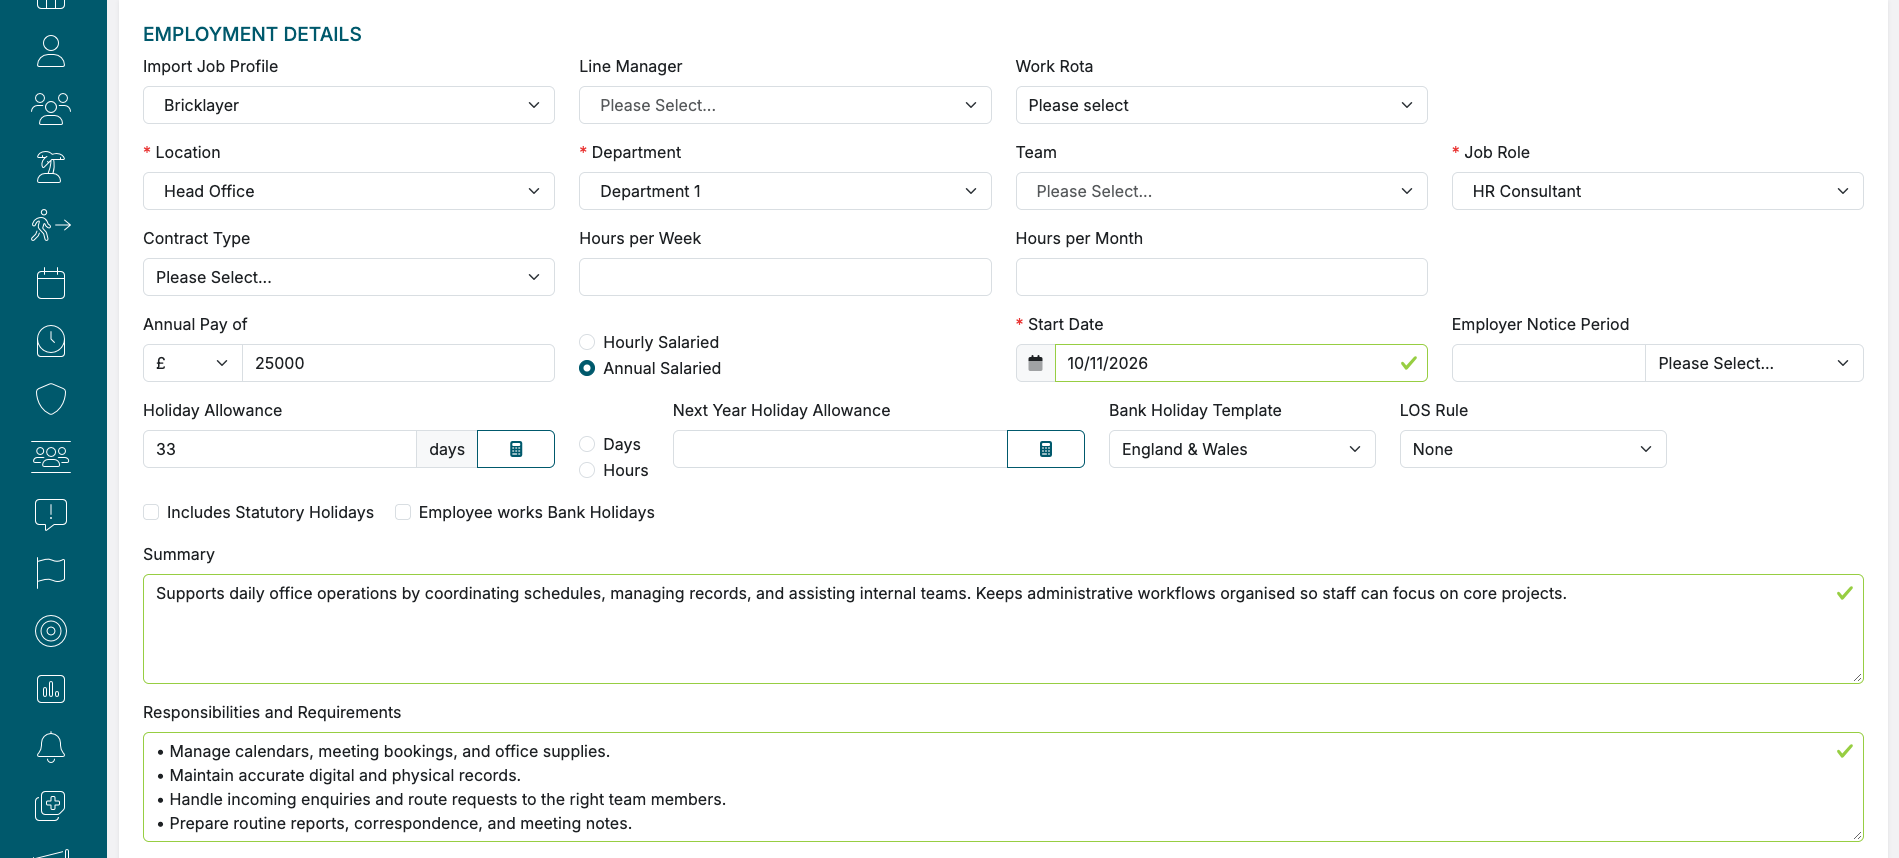
Figure 2. Employment details
3. Offer
The Offer tab lets you prepare an offer for the candidate and review the generated document before sending it.
- Complete applicable benefits, such as pension contribution, healthcare, company car or devices.
- Check the offer letter in the Preview panel, including any details pulled through from the Employment tab.
- Choose Send Email to Candidate to issue the offer, or use Skip Offer where an offer does not need to be issued through this workflow. The Accept option is also shown on this screen.
If you prefer to use your own company offer letter, this can be created as a Document Template. A separate video on the HRoes Help Site explains how to configure document templates.
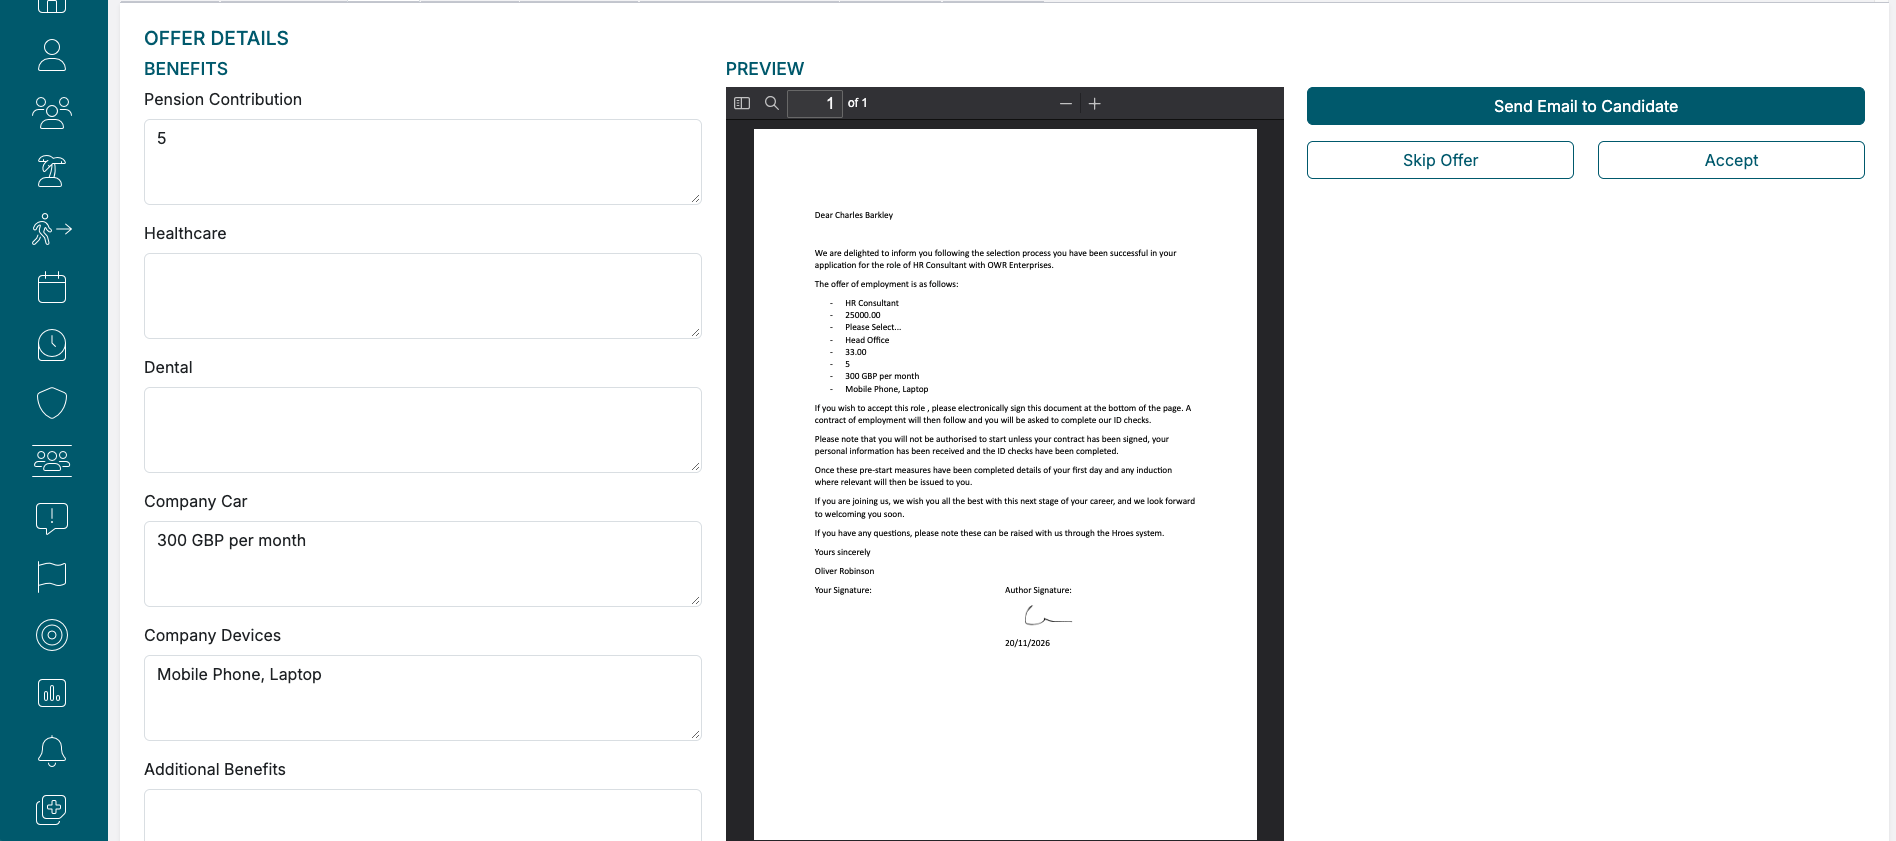
Figure 3. Offer details and preview
4. Contract
Enter the contractual information and preview the generated contract before issuing it.
- Review fields such as the contract date, probation period, notice periods and salary payment arrangements.
- Check the complete contract preview, including employee details and any generated terms.
- Use Send Email to Candidate to send the document for the relevant action. Skip Contract and Signed are also available for circumstances where they apply.
You can use your own employment contract by setting it up in Settings > Templates. See the separate Document Templates video on the HRoes Help Site for guidance.
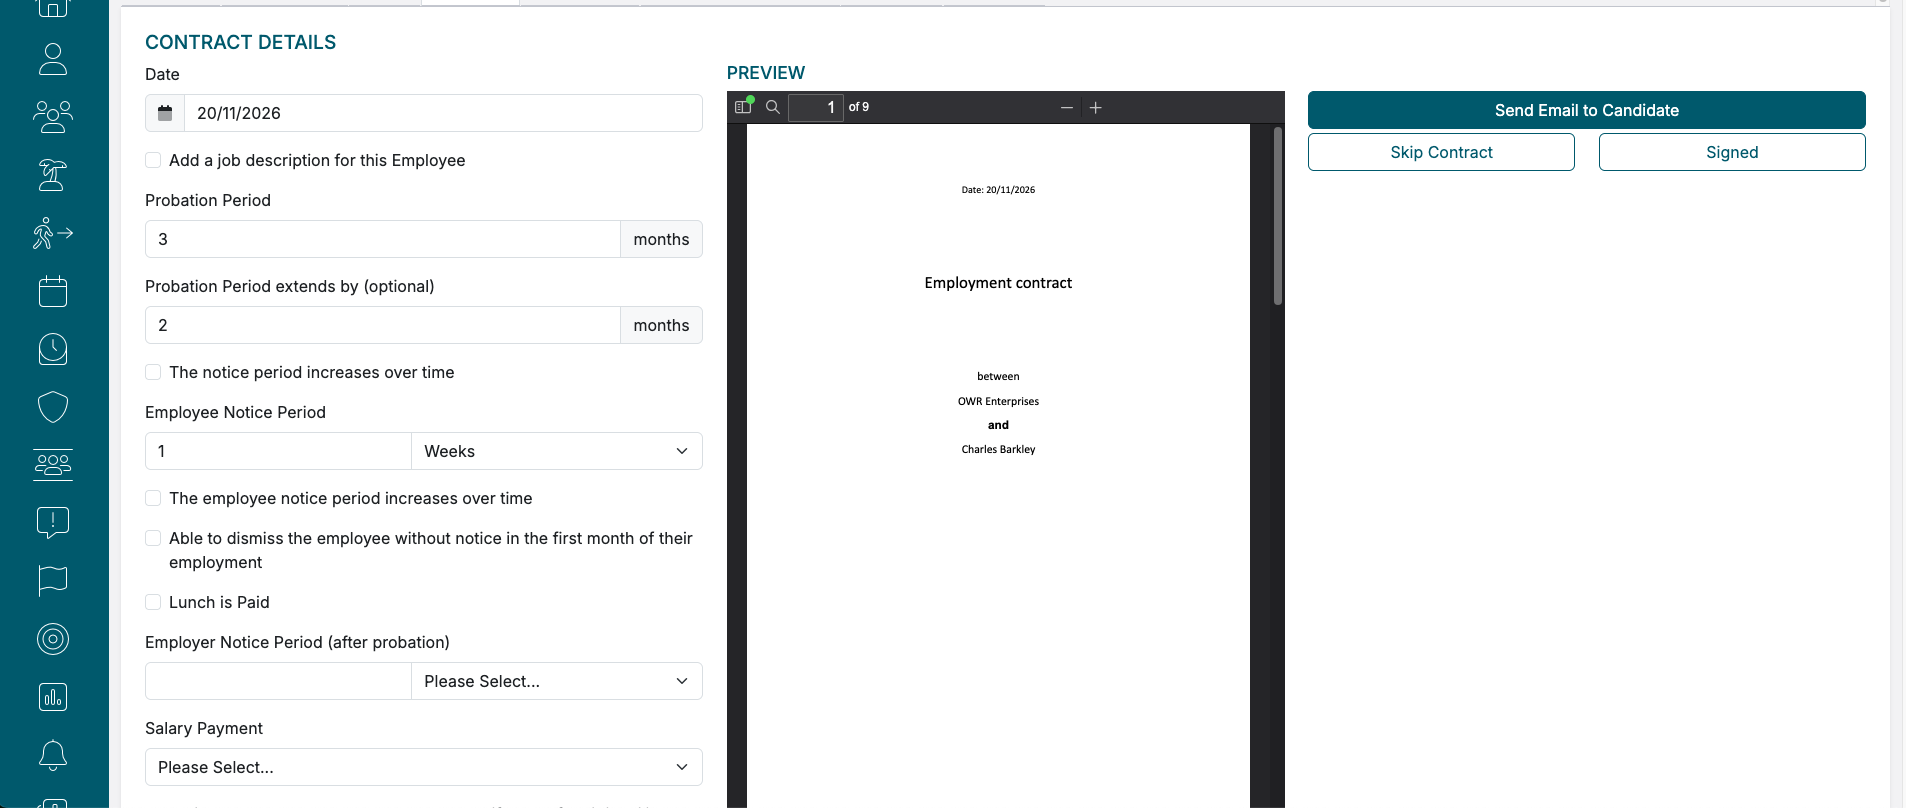
Figure 4. Contract details and preview
5. Additional Documents
Use this tab to attach any other documents relevant to the new starter.
- Select Upload a Document to add a file, or Add a Document from Company Template to use an existing template.
- Review the document list and use Download or Delete as appropriate.
- Select Save & Continue to proceed.
You can return to the Contract and Additional Documents tabs to amend the contract or add documents while a right-to-work check is underway; you do not need to wait for that check to finish before working on these sections.

Figure 5. Additional documents
6. ID Check / Right to Work
All employers must complete the appropriate right-to-work checks before an employee starts work. HRoes includes a dedicated ID Check stage for recording this activity.
- If available on your package, use Send Trust ID to initiate the integrated TrustID check and monitor its status.
- The TrustID integration is included with the HRoes Ultimate package; it may not be available to every customer.
- Alternatively, follow the applicable manual right-to-work guidance, check the relevant evidence and upload the supporting documents using Upload a Document.
- Use Passed ID Check only when you have actually completed and verified the required check.
The links shown within HRoes provide guidance on checking share codes and undertaking manual right-to-work checks. Retain the appropriate records of the checks performed.
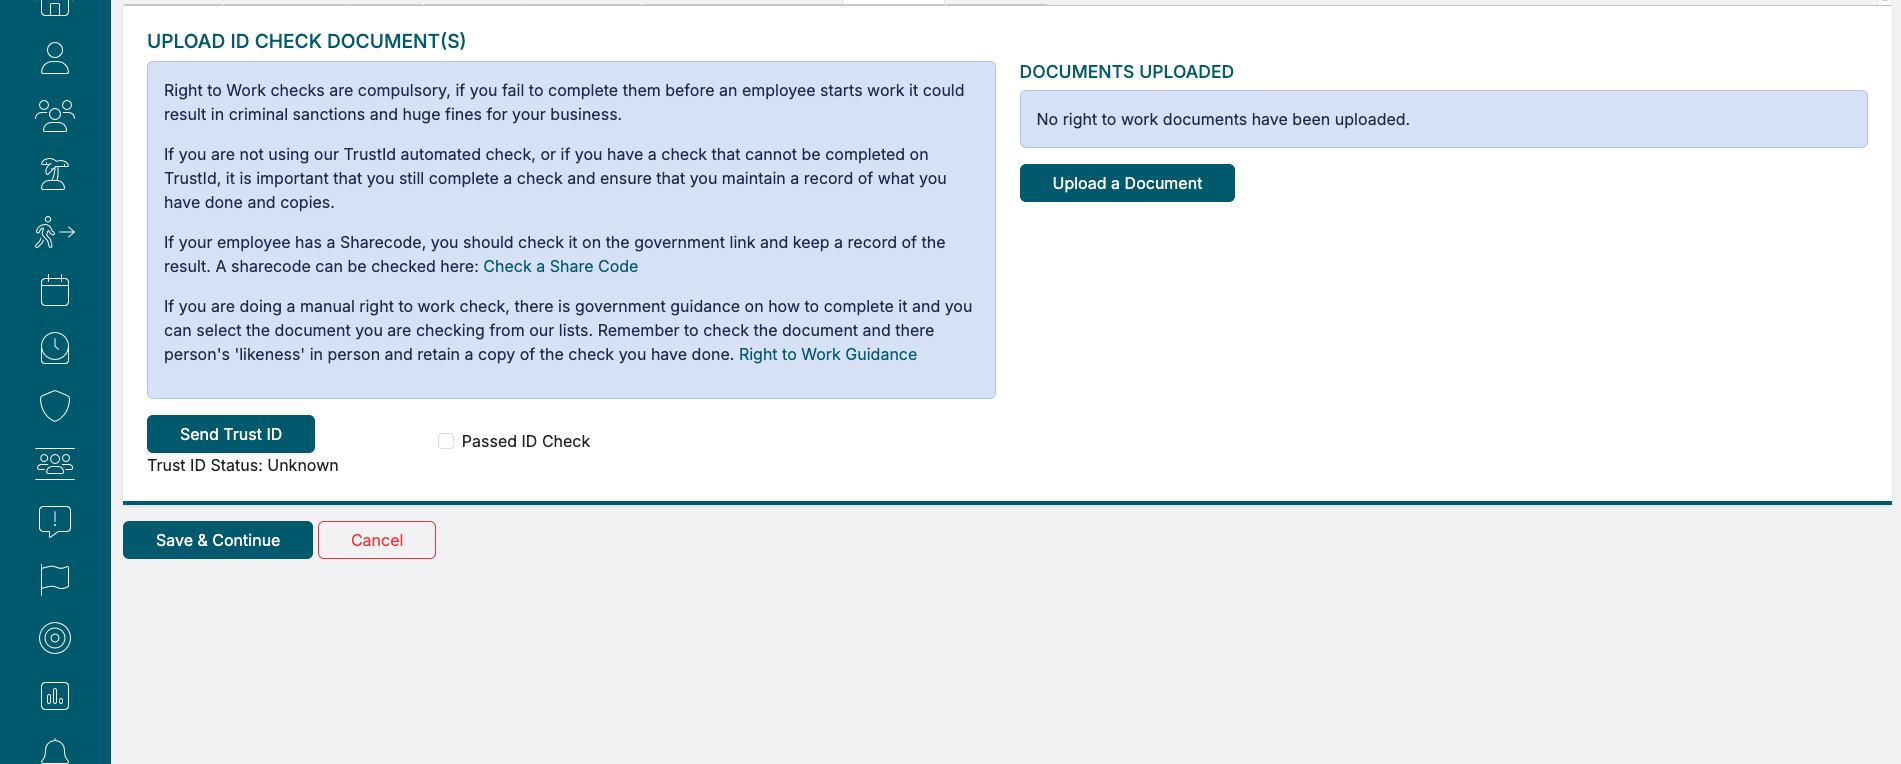
Figure 6. Right-to-work / ID check
7. Pre-Start Tasks
The final tab helps you prepare for the employee’s arrival, including arranging induction activities and equipment.
- Review the generated tasks, such as Onboarding - Induction Meeting, Onboarding - Equipment and Onboarding - Probation Review.
- Confirm the Assigned To person, task Details and Due Date/Time for each task.
- Mark tasks Completed when the work has been done, and review any remaining actions before finishing the onboarding process.
These tasks are configured in Settings > Onboarding Tasks. A separate video on the HRoes Help Site explains how to create and manage the task templates.
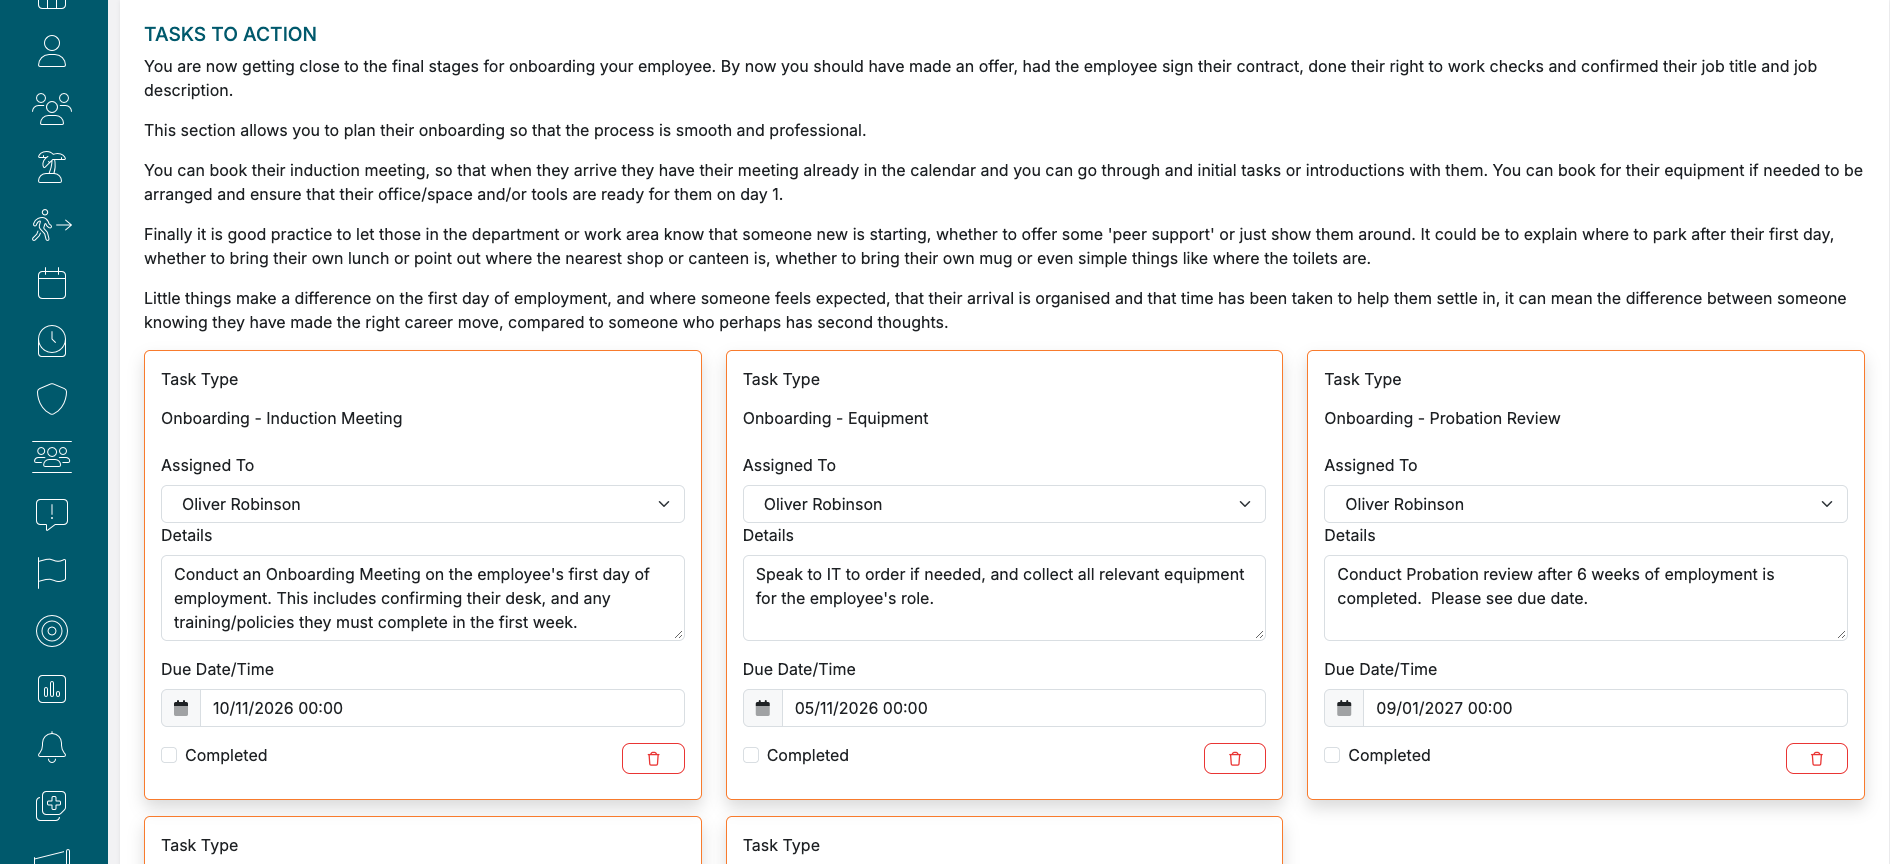
Figure 7. Pre-start tasks
Before You Finish
Check the employee’s key information, start date, holiday settings, offer and contract documents, right-to-work status and outstanding tasks. Where documents have been sent for signature or checks are still underway, track their progress and complete the outstanding actions as required.
Need Help?
If you need assistance with onboarding, email customersuccess@hroes.co.uk or raise an enquiry using the chatbot in the bottom-right corner of HRoes. Include the stage you are working on and a screenshot where helpful.